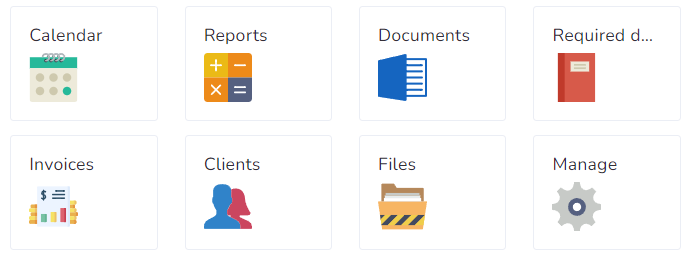
The user dashboard is the home screen of the provider, from here you have access to everything related to the user. In essence, shortcuts to other pages are placed in the dashboard for improved navigation.
Like in the Clients module, here are three important sections in this dashboard:
- Avatar
- Summary
- Shortcuts
Avatar:

This visual representation of the user is intended for you to quickly understand which provider are you working with.
You can change the avatar by clicking on the image that appears just above the name, note that you may receive an error if you are not allowed to perform this action.
Summary:

This is the summary of all the user’s information. You can switch between Personal and Professional by clicking on each individual tab.
Inside the Personal tab, you can see all the major demographics of the users such as Birthdate, Age, Birthplace, Preferred language, Spoken Languages, Gender, Email, Phone number, etc.
The Professional tab will display NPI, MPI, Credentials, Rates, etc.
Shortcuts

Depending on your access and the version of the application you are running you could see more or fewer buttons here, we will go over each one of them briefly.
- Calendar: Access the calendar with all the events belonging to this provider. Very useful for a visual representation of the User’s schedule.
- Documents: Access the documents created in the application for all the clients associated with this provider.
- Required Documents: Listing of all professional documents required by the agency and their respective status.
- Reports: Tabular representation of all events belonging to the user. Similar to the Calendar section, but more intended to determine any warnings that may be associated with the events.
- Clients: List of all customers associated with this user.
- Invoices: Shows all the invoices and hours worked, as well as the payment for these services.
- Files: Cloud folder for this user’s digital documents.
- Manage: Limited to administrators, this is where the user’s general information is modified.
Notes
On this user’s section, you can add essential information, facilitating administrators collaboration and enabling recommendations for providers interaction.

