As an administrator, you have access to the Configuration page and can modify the agency’s information.
This lesson is further divided into other lessons, each of which has its own configuration.
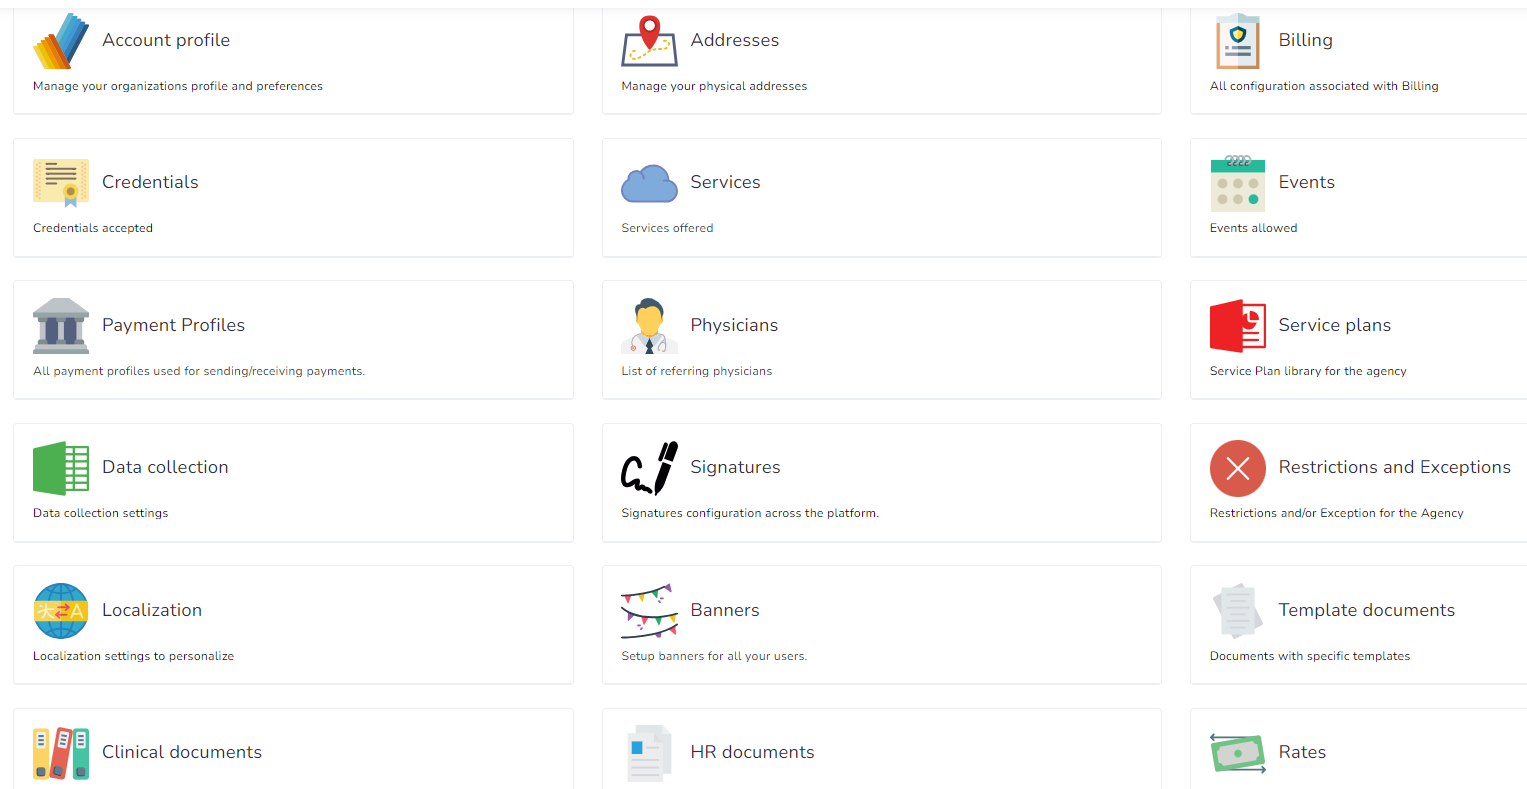
- Account profile
- Addresses
- Billing
- Credentials
- Services
- Payments
- Physicians
- Service Plans
- Data collection
- Signatures
- Restrictions and Exceptions
- Localization
- Banners
- Template documents
- Clinical documents
- HR documents
- Rates
- Agreements