If you are an administrator, you will be able to access the Manage page and modify the client basic information. This page is further divided into Tabs where each one of them has it own configuration.
Demographics
Example information: Name, Birthdate, Gender, Languages, Email, Phone, etc.
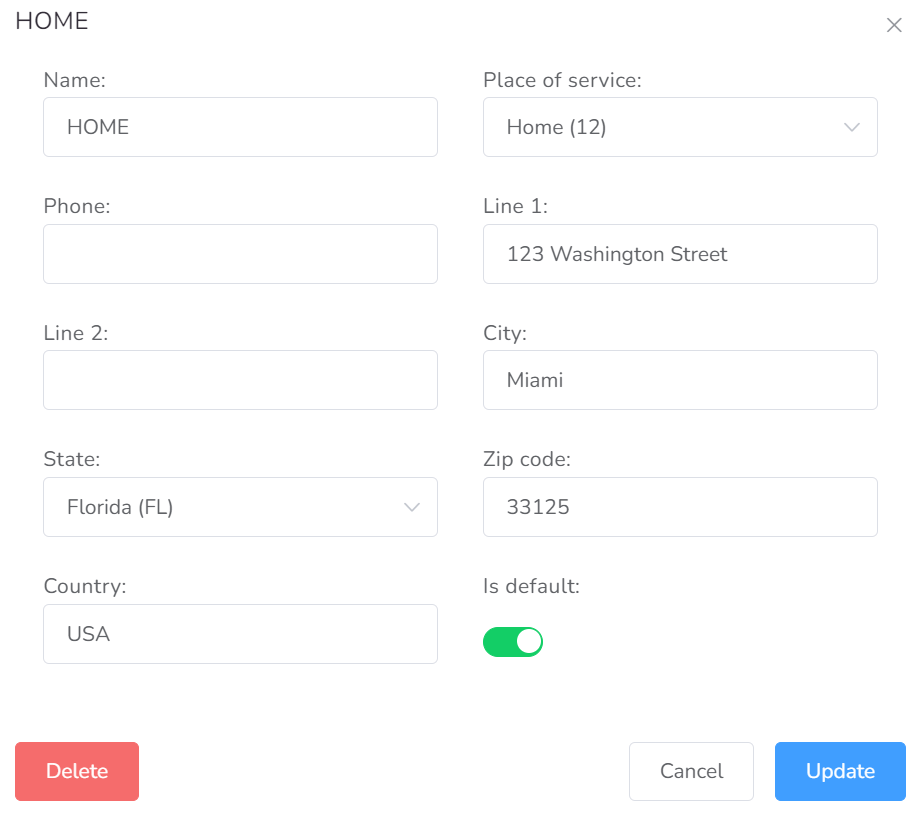
Addresses
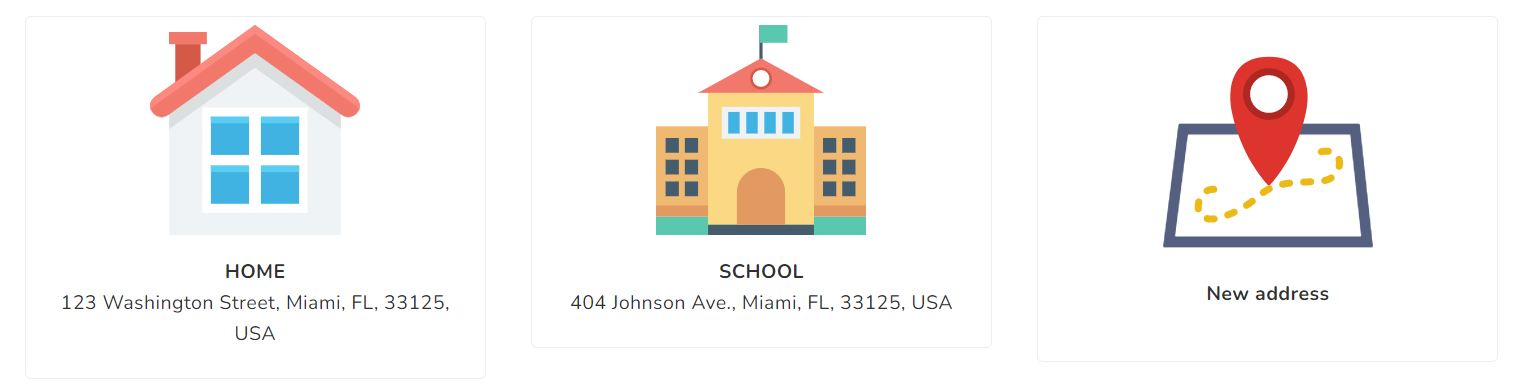
This section is to keep track of all the address for this client. This list is available for all users to see in case they need such information
To add a new address, simply click the New address button.
Caregivers
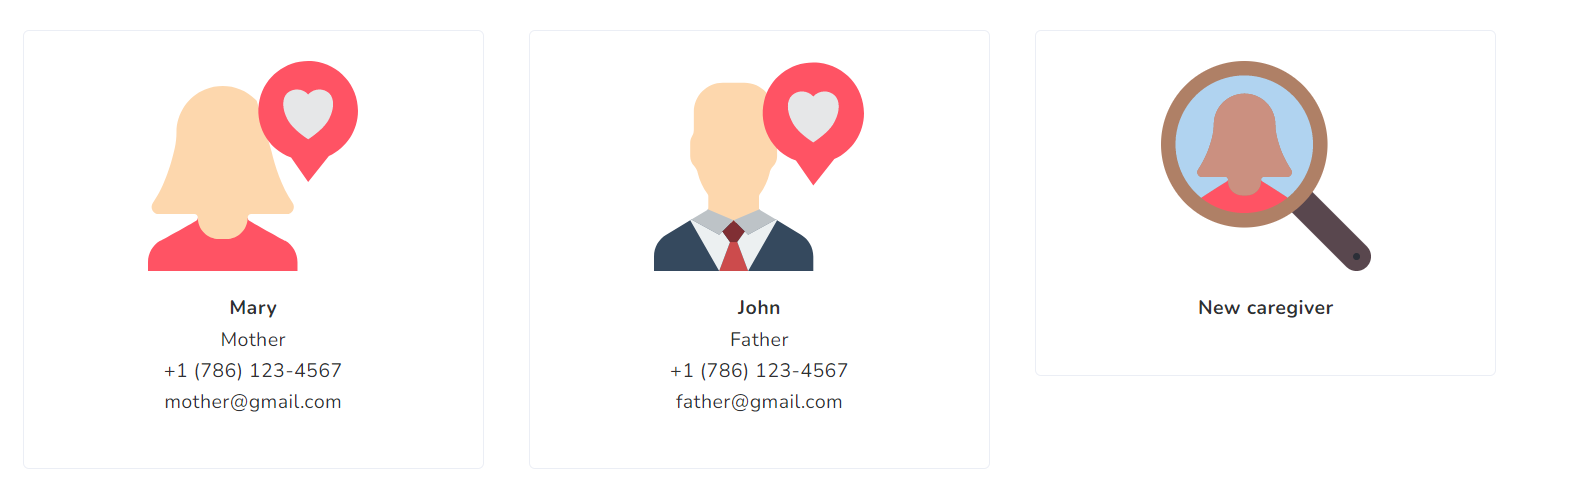
This section is to keep track of all the caregivers for this client. This list is useful if the caregiver information is ever needed by the providers associated with the client or the agency staff.
Click on New caregiver to add a new caregiver.
Caregivers could also be Family members, Legal guardians, Teachers, etc.
Physicians

This section is to keep track of all the physicians for this client. This information is also available for all the providers and agency staff to see if required. You can add as many as required by clicking on the New physician button.
Diagnoses

This section is to keep track of all the diagnoses for this client. This is particularly important if such information will be required in other sections, such as Document or Billing. Click on New diagnosis for more.
Medications

This section is to keep track of all the medications taken by this client. This information is available for all the providers and agency staff. Click on New medication to add more.
Pharmacies

This section is to keep track of all the Pharmacies where the client medications are purchased. Click on New pharmacy to add a new one.
Insurances
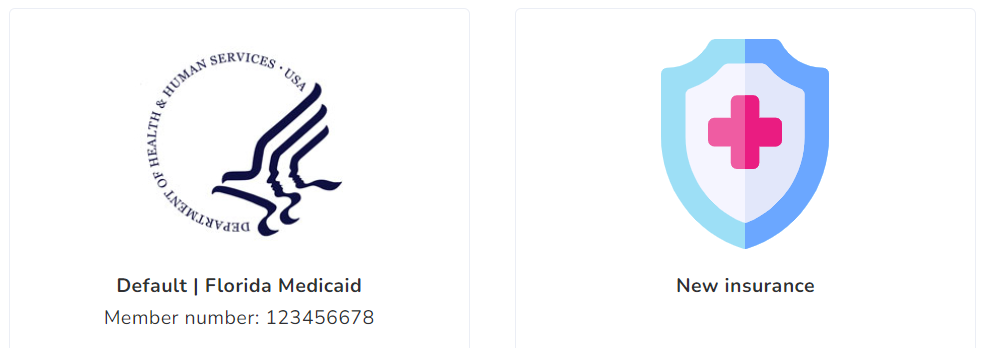
This section is to keep track of all the insurances for this client. Most of the time, only one insurance should be here. Click on New insurance to add more.
Prior Authorizations
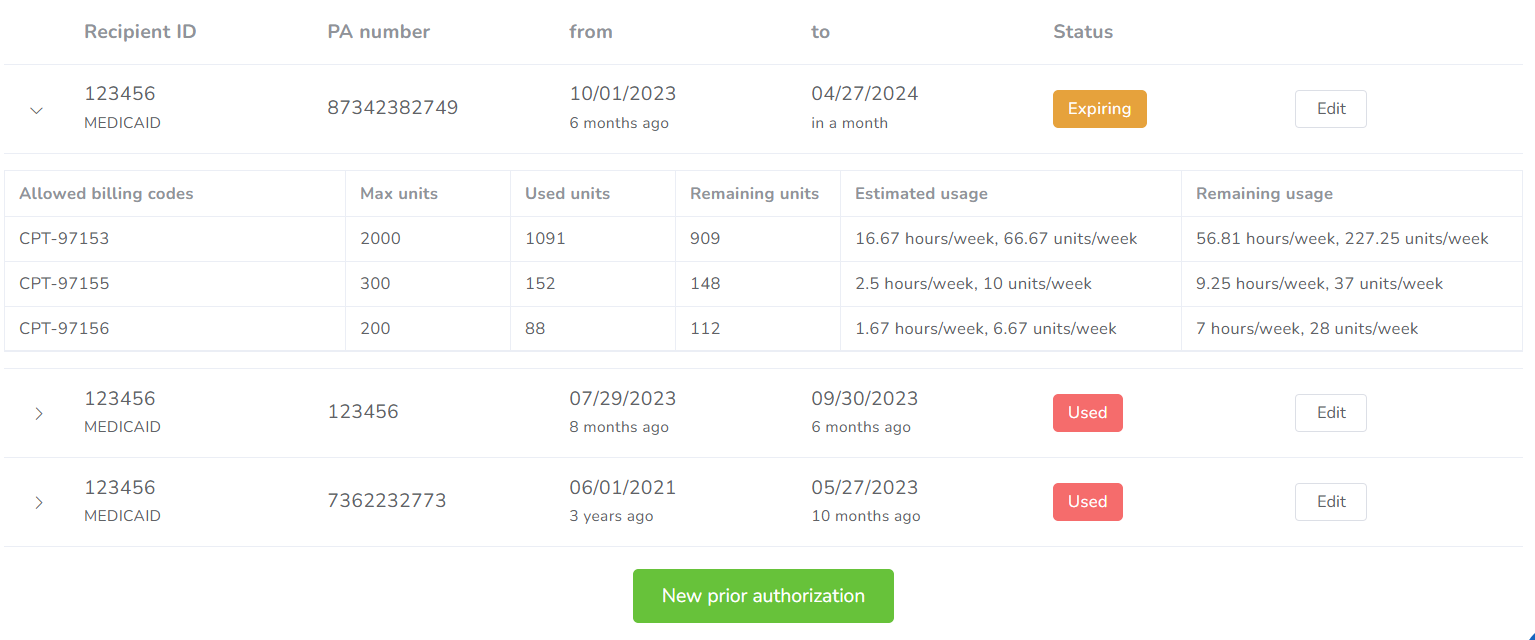
This section is to keep track of all Prior Authorizations approved for this client. This is very essential, the services can only be rendered with an approved Prior Authorization. Typically, the Prior Authorization number will be added to all the claims for the client.
The configuration for the PA is divided on three tabs: General, Authorizations and Files.
Each Prior Authorization requires certain information which is required, typically showing on General and Authorization tabs.
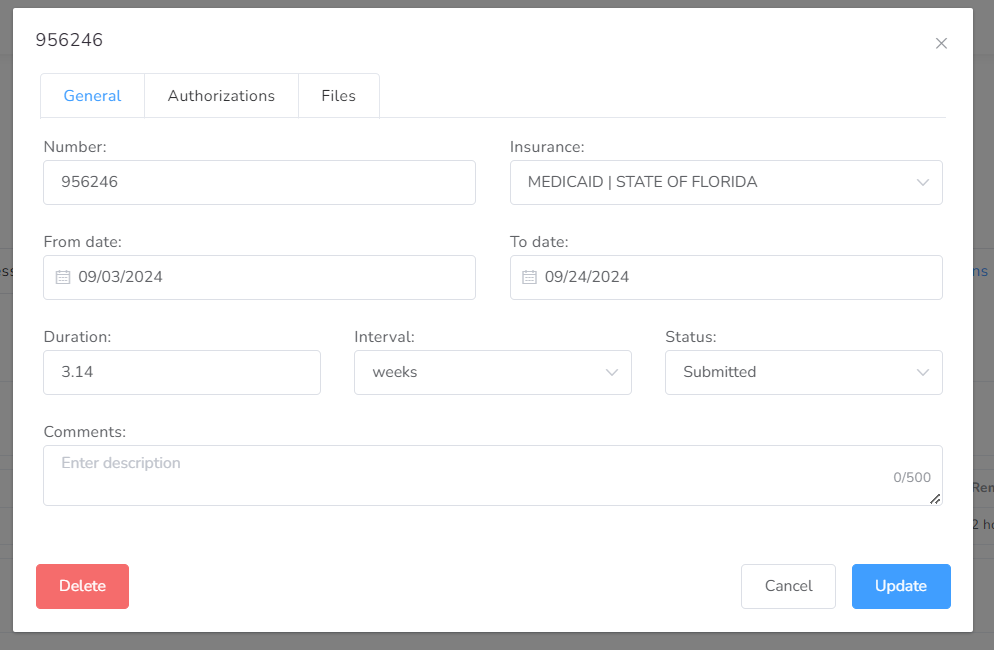
- Number – This is the PA NUMBER and is the unique identifier on the insurance side for this service approval.
- Insurance – Insurance which this Prior Authorization is associated with, the list will populate with the available insurances for this client.
- From/To Dates – This is the approved dates for this Prior Authorization to work. Outside these dates, it is very likely that submitted claims will not be accepted/paid by the insurance company.
- Duration/Interval – The duration for this Prior Authorization in the selected interval (days, weeks, months). Useful to estimate usage/interval selected.
- Status – The current status for this Prior Authorization, available status are: Created, Submitted, Approved, Denied, Used.
- Comments – Any comments or additional information that is required for this Prior Authorization.
On the Authorization tab, the system will show the list of Authorizations for this Prior Authorization. This list contains the Billing Codes approved along with the Approved Units.
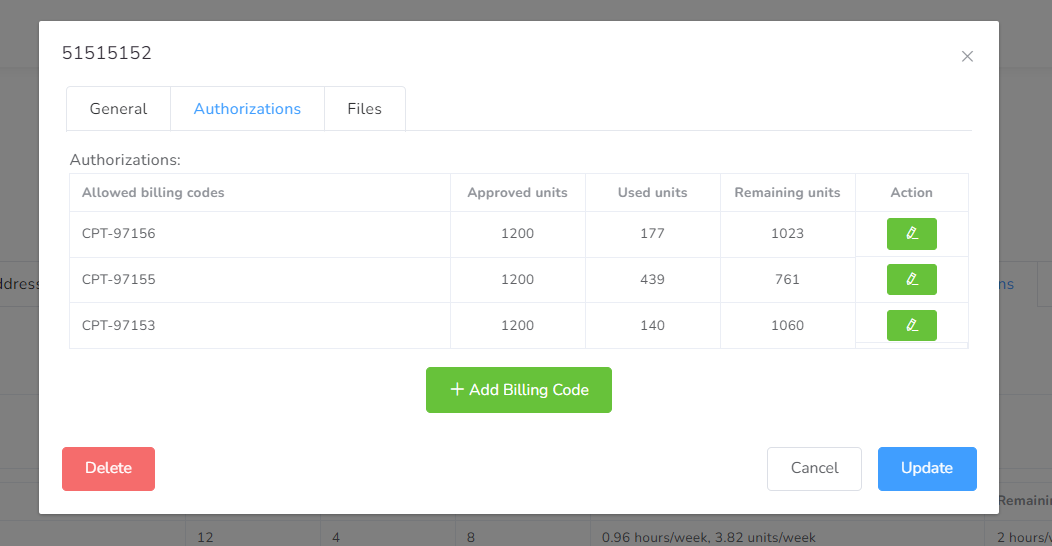
Example Authorization
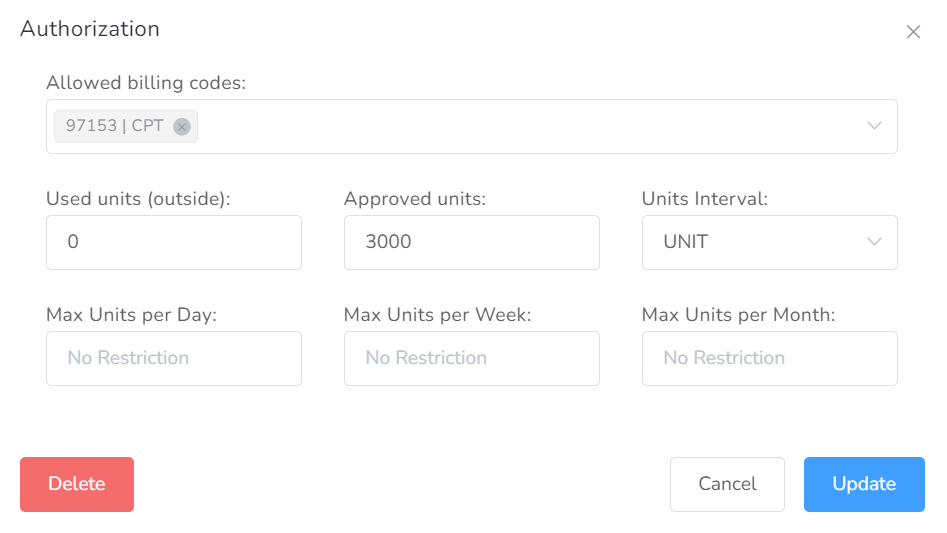
Each authorization inside the Prior Authorization allows the following configuration:
- Allowed billing codes – The list of billing codes allowed to be billed under this authorization.
- Used units (outside):– Zero by Default, it’s the amount of units used outside the platform, this is the number from where Office Puzzle will start counting usage.
- Approved units – Maximum number of units approved for this authorization.
- Units Interval: The list of available interval, Units / Events.
- Max units per Day/Week/Month – If you would like to limit/restrict usage of this authorization, you can add the number of units per interval here. Useful to avoid users/providers from consuming units.
Users
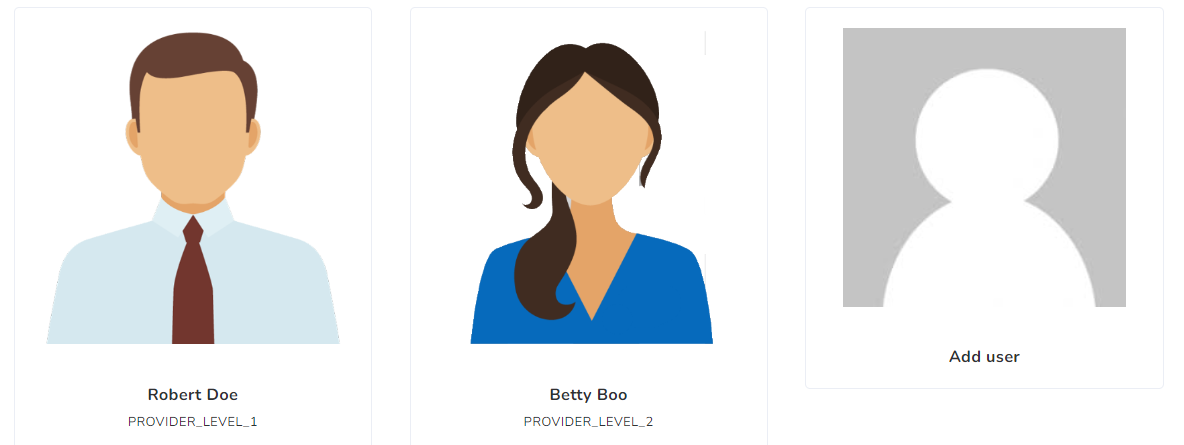
This section allows to add/remove access to this client. Click on “New user” to add users to this client. For an explanation of roles, please refer to https://www.officepuzzle.com/article/access-roles/ o see the next short video:
Required Documents
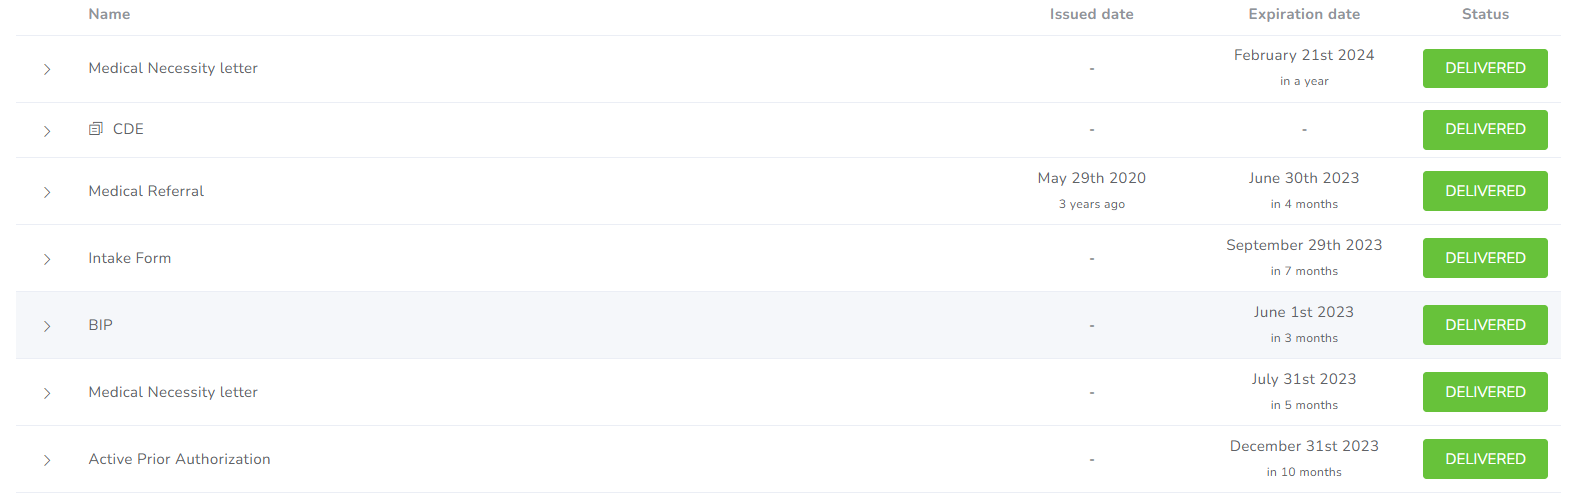
This section is very similar to the “Required Documents” page accessible from the Client’s dashboard.
Backups
If you are an administrator and would like to request a full backup of the client, click on the Request Backup button. This will start generating a background process to generate the backup. Once completed, an email will be delivered to you and the file will be accessible here. For more information about backups, please refer to: https://www.officepuzzle.com/tutorials/backup-client/
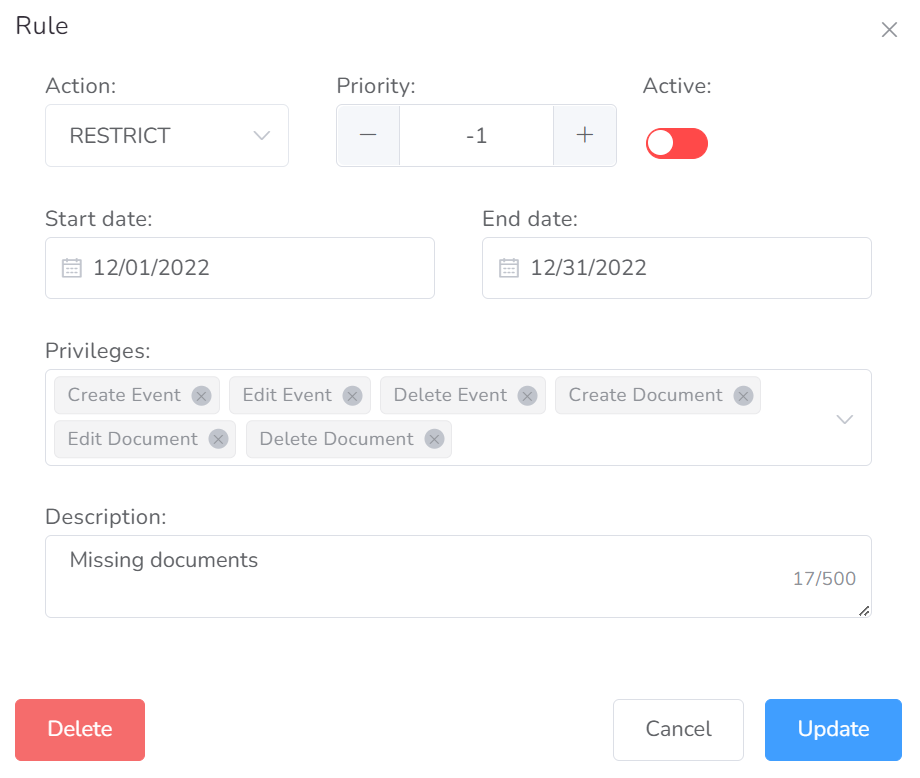
Restrictions and Exceptions

In this tab, you will be able to add and configure the restrictions preventing to perform some actions, like create, edit and delete events and documents.
Advanced
In this tab, you will have three fundamental options: Disable/Enable, Export, and Enable “Allow Overlap.”
- The first Disable/Enable is used when you want to disable the client for a specific period or indefinitely without a return date to the agency (highly recommended for maintaining the client’s data and information). A disabled client can be only then deleted. Please be advised that deleted clients might not be recovered.
- The Export option allows you to export the profile into an OPZLE format file, which can be imported if necessary in the future, either within the same agency or a new one.
- The last option, Enable “Allow Overlap“, is used for clients with medical insurance, mostly private, that allows overlapping the client with multiple providers simultaneously.