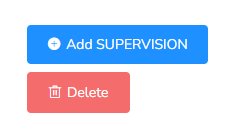
Once the Analyst has added the initial visit with the client, then the Supervision event can be added to the main event.
To do it, you just need to hit the blue button +Add SUPERVISION. Then, depending on your agency configuration, that event needs to fill out all the boxes.
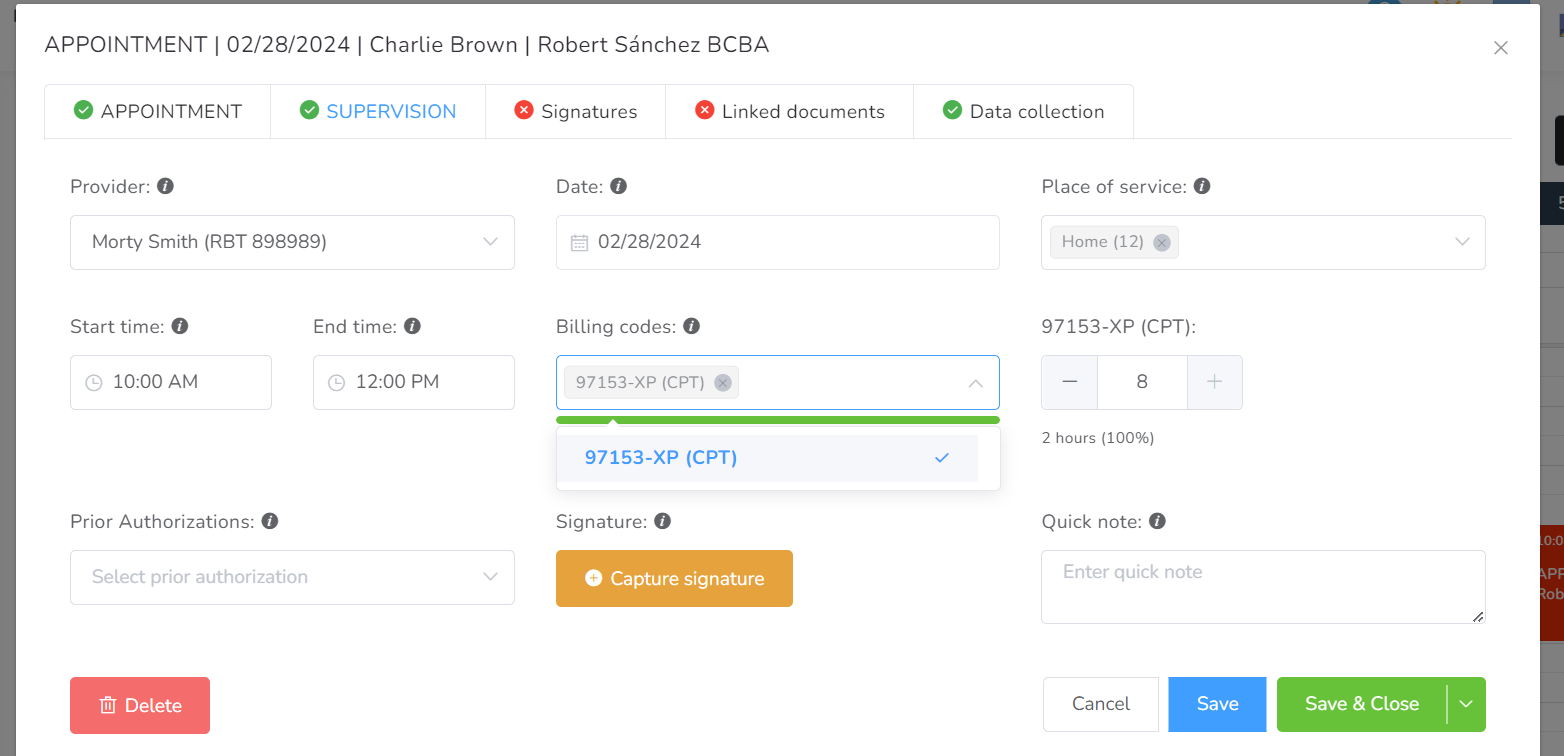
- Provider – You can add the name of the Supervisee provider
- Date – You can create an event a few seconds in advance or a few seconds later on the same day that the main event.
- Place of Service – Locations allowed to work on.
- Start time – Allowed start time: 12:00 AM. Max Duration: 10 hours.
- End time – Allowed end time: 11:59 PM. Max Duration: 10 hours.
- Billing codes – List all available billing codes for this event.
- Prior Authorizations – List all available Prior Authorizations for this client.
- Signatures – Here the Supervisee can sign the visit.
- Quick note – Quick note to pass to the Agency for this event, not the visit summary.
After you finish filling out all that information, you may click on Save / Save & Close.