
Clinical Documents
In this section, you will define the Clinical required documents for the Clients in the agency. Here are a few examples: Medical Necessity Letter, CDE, Intake Form, Medical Referral, and so on. Each agency defines its own set of documents.
In order to add the Clinical documents, you need to follow the steps described below:
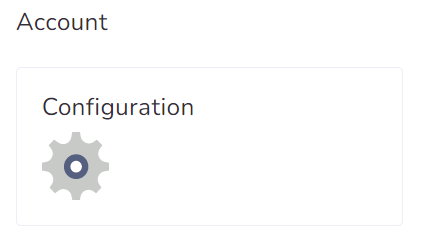
1- On the Agency’s Dashboard, go to the Configuration shortcut under the Account subsection.
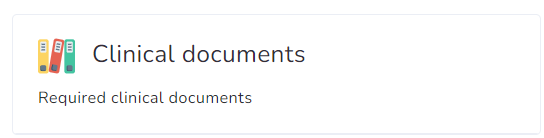
2- Scroll down to the bottom and click on Clinical documents.
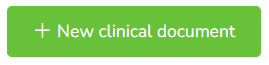
3- Click on + New Clinical document.
4- Select the source: Catalog or Manual.
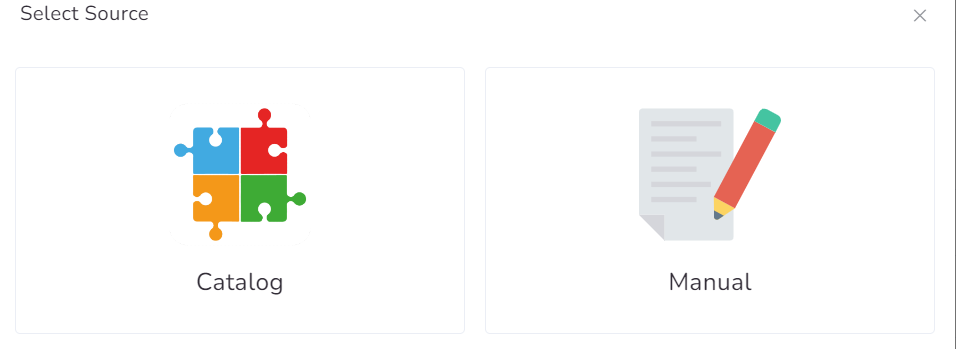
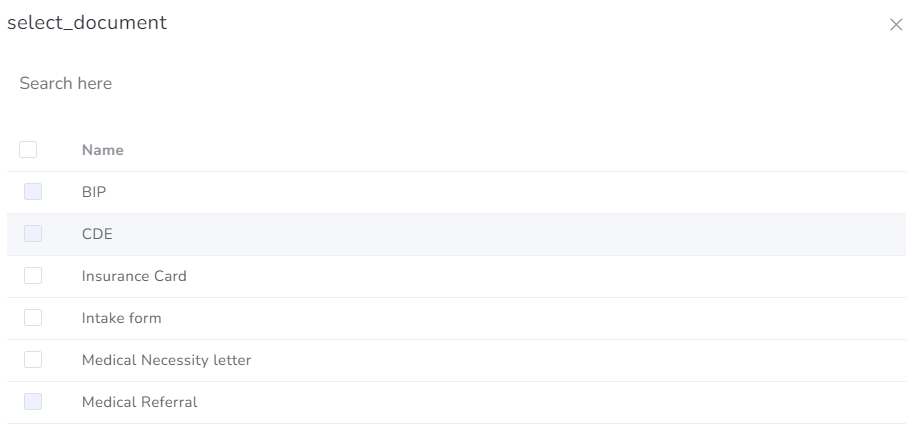
a- If you select from Catalog, you will choose among the options that the platform provides. You just need to mark the checkboxes and click on Add. Please note that you can add one, several, or select all of them.
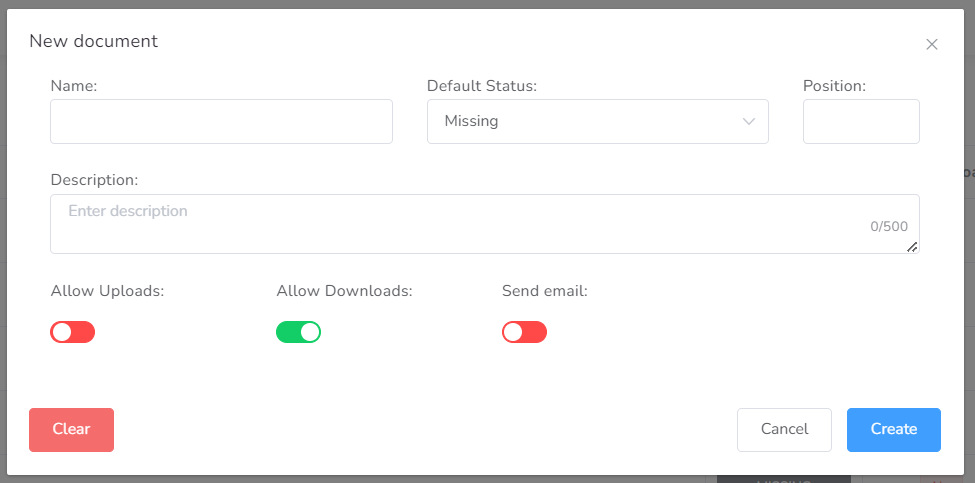
b- If you select Manual, then you will be able to configure it and Create it as well.
Edition
Once you have added it, you can edit the Required document if you need it. Each document has common fields to fill out.
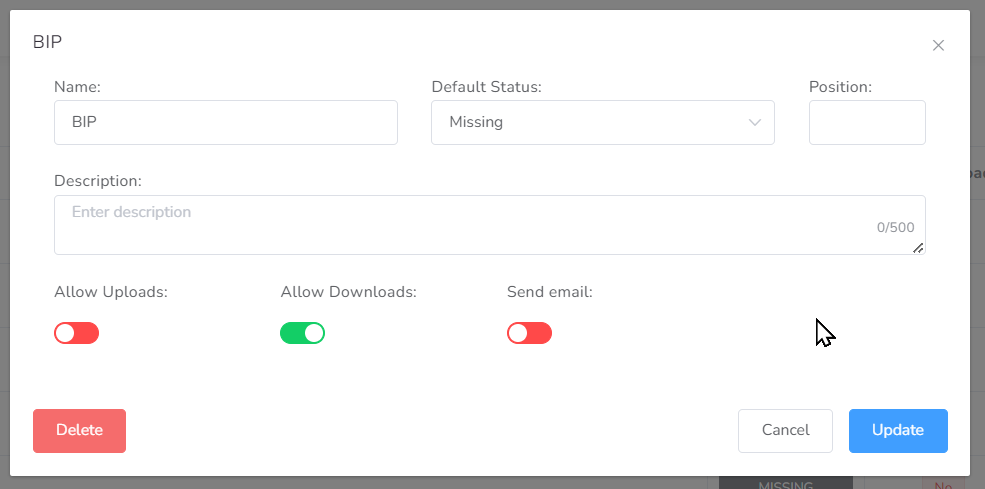
- Name – Here you type the name of the document.
- Default status – The statuses are Missing, Delivered, and Ignored. You select the one you require or consider ideal.
- Position – This box refers to the position the document will have in the list. If you do not want a preset order, and you do not want the documents to be organized by expiration date, you only need to leave it blank.
- Description – Here you can add a short description of the document itself, with no more than 500 characters.
- Allow Uploads Switch – This switch allows each user to upload or not their client’s documents. If you leave it red, only agency admins will be able to upload them, and if you change it to green, users can upload files.
- Allow Downloads Switch – This switch allows each user to download or not their client’s documents. If you leave it red, only agency admins will be able to download them, and if you change it to green, users can download files.
- Send email Switch – This switch allows each user to receive or not a notification about their client’s document’s expiration. If you leave it red, the users linked to that client won’t be able to be notified once the Clinical document is expiring, and if you change it to green, users can receive the emails.