This section is divided into three distinct screens.
Document Types
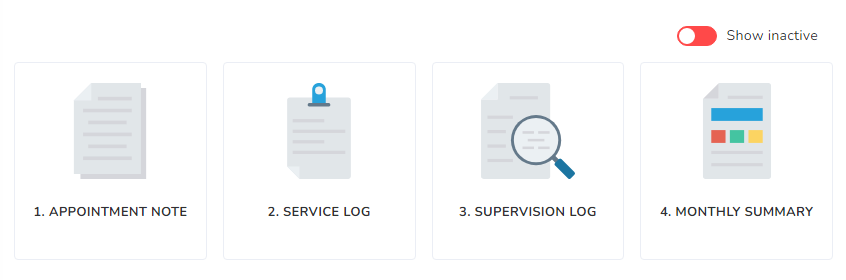
The first screen is for the selection of the type of document you will want to open.
- By default, it will display all available templates approved by the Agency that are active.
- You can show inactive templates by clicking the switch in the top right corner.
- The number of documents available and/or names will differ from Agency to Agency.
Document Selection
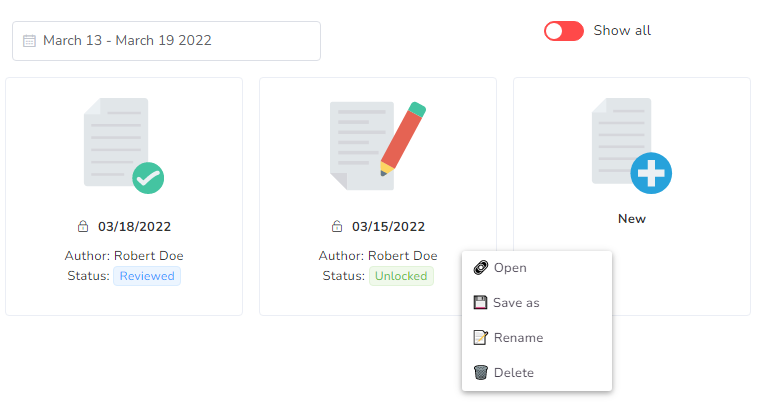
After clicking the document type, you will access the list of available documents for a specific interval of time.
- You can switch this interval using the selector in the top left corner.
- By default, the interval for today will be selected.
- By default, you will only see documents where you are the author.
- You can access other users’ documents by clicking the switch in the top right corner, in case you need to review documents or sign them.
- If you right-click on any document, you will have access to some quick changes.
- If you would like to create a new document you can click on the NEW button, depending on the agency and the specific credentials assigned, you might not see the NEW button.
Document
This is the document itself. Do not focus so much on the specifics of the document content (the page) since it will differ from Agency to Agency. These are general instructions on how to work on the document. Contact your agency if you have questions on how to fill out the document.
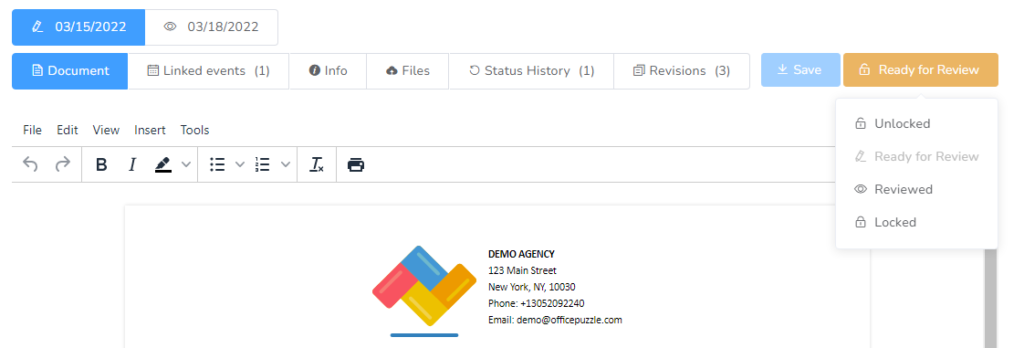
The document screen itself has multiple controls, we will focus on explaining what each one of those is doing.
- You can switch from documents in the same interval by clicking the document name right above everything else.
- The first tab “Document” will give you access to edit the document.
- The tab “Linked events” will show you all the documents associated (a.k.a. “Linked events”).
- The “Info” tab will show additional information for this specific document such as Name, Date of the document, Creation date, Created by, Last updated date, Last updated by, etc.
- The “Files” tab will allow you to attach documents (images, PDFs, docs, etc.) to this document. This could be useful if there is some content you would like to attach.
- The “Status History” tab will show all the changes in the status of this document when they occurred and the whole did the change.
- The “Revisions” tab will inform about all the content changes that happened to the document since its inception. A revision is purged after 30 days.
- You can change the STATUS of a document by clicking the colored button in the top right corner. Depending on your access, you might not have access to change a specific status.
Available Statuses
This is the default status for all documents, this should never be the final status as it will cause the Administrator to assume the document hasn’t been completed.

This status will signal to the rest of the users that the document is ready to be Reviewed or Locked.
This status is reserved for providers with Level 2 or superior. This will put the document and all the events linked as read-only and no more changes are allowed.
This status is reserved for Administrators. This will put the document and all the events linked as read-only and no more changes are allowed.