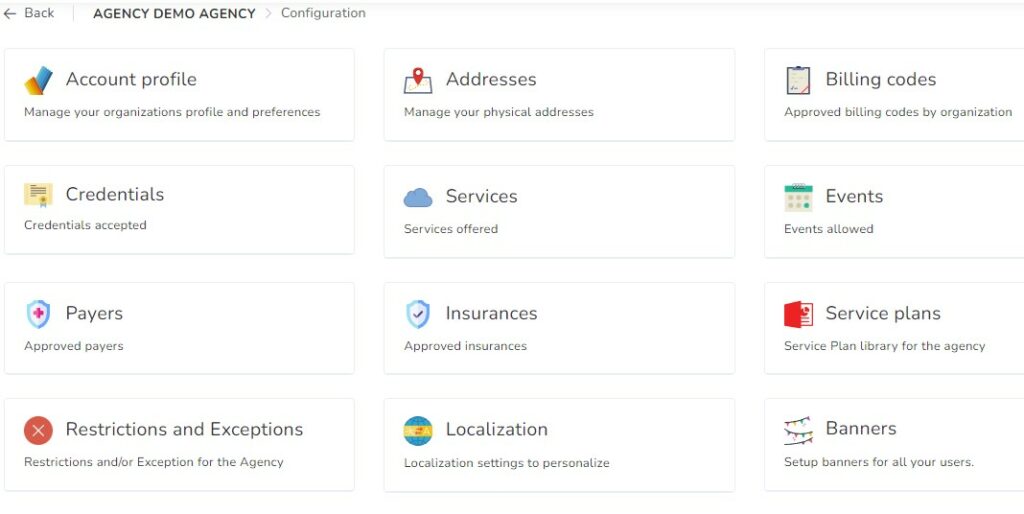
As an administrator, you have access to the Configuration page and can modify the agency’s information.
This page is further divided into Boxes where each one of them has it own configuration.
Account profile
This is the first tab and the most important one as it details all personal information about the agency. Not all the fields are required, but it is highly recommended that you complete as much information as possible. This is further divided into blocks:
- Demographics: Legal Name / Trade Name
- Contact information: Email / Phone Number / Fax / Website
- Company information: Name / Employer Identifier Number (EIN) / National Provider Identifier number (NPI) / Medicaid Medicare number (MPI)
- About me
At the end and after modifying any of the above aspects, you must click on the Save option, so that the changes are registered.
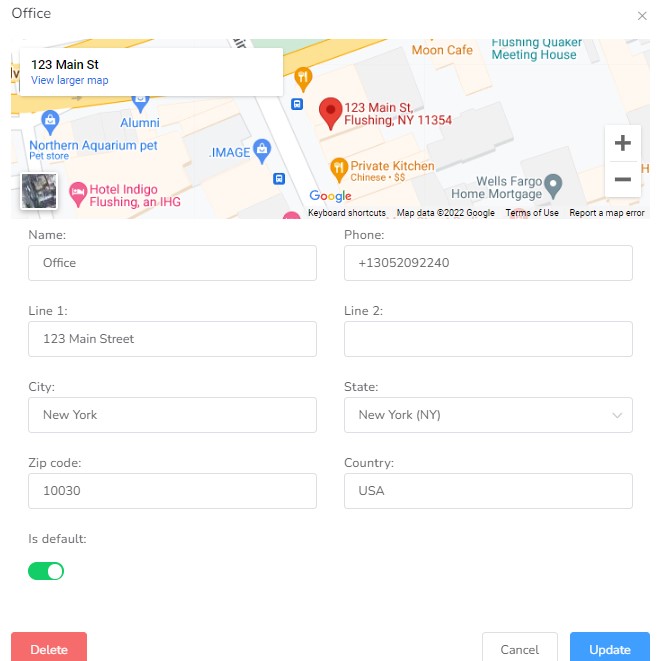
Addresses
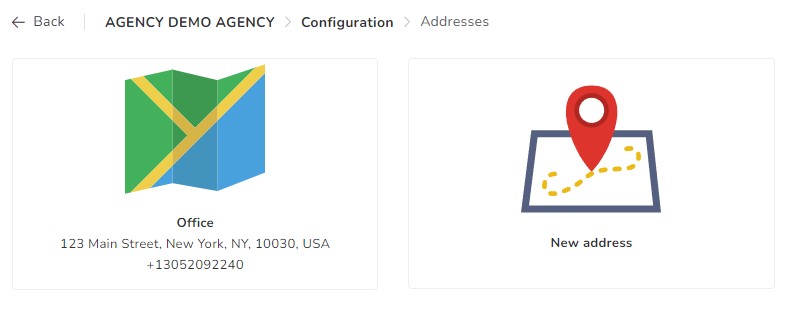
This section is to keep track of all the address for the agency. To add a new address, simply click the New address button.
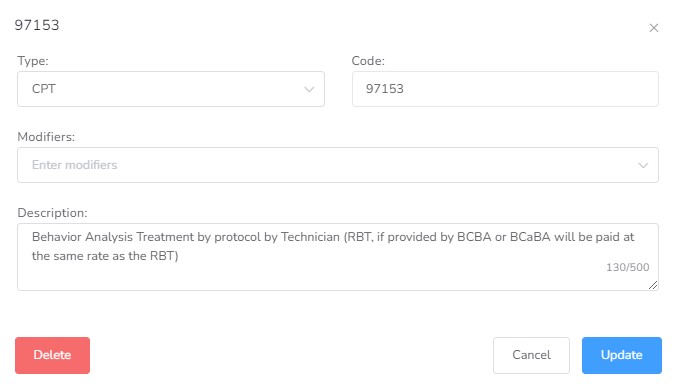
Billing Codes
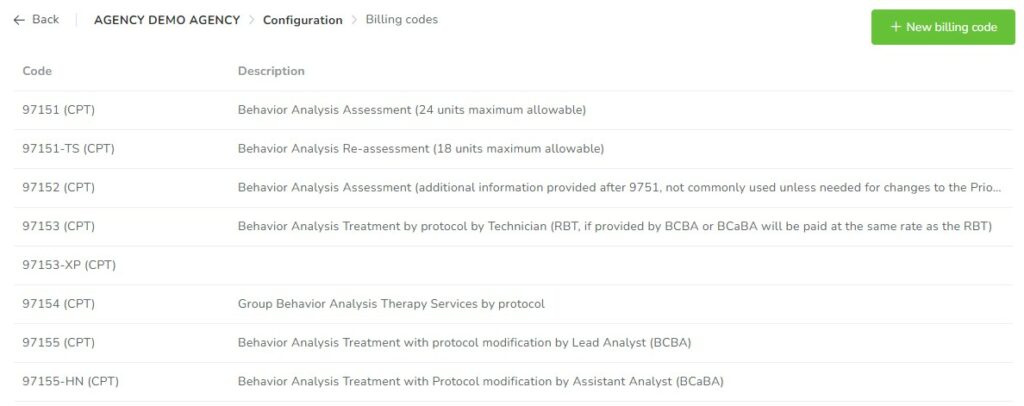
This section is to keep track of all the Billing Codes for the agency.
Click on New billing code to add a new code.
Credentials
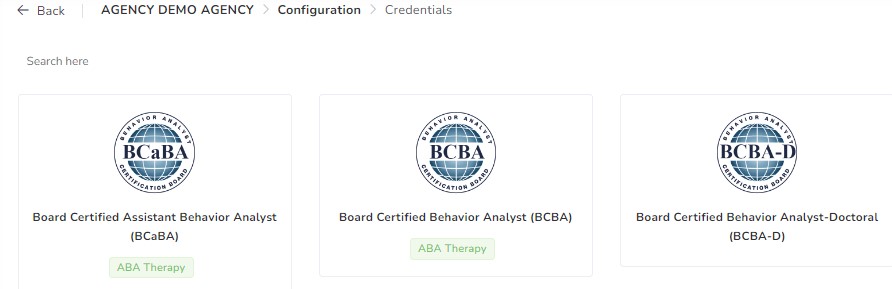
In this tab, you will be able to view, create and modify the credentials assigned in the system.
If you click on the credential itself, you can verify the elements that compose it:
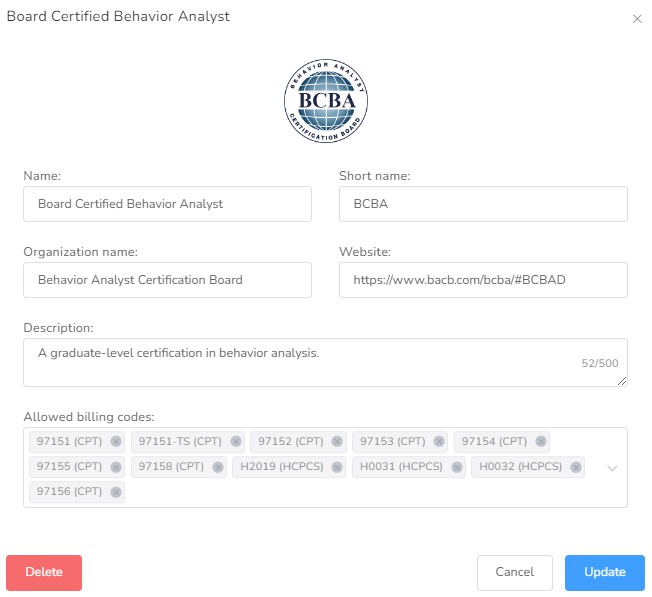
- Name
- Short Name
- Organization name
- Website
- Description
- Allowed billing codes
Services
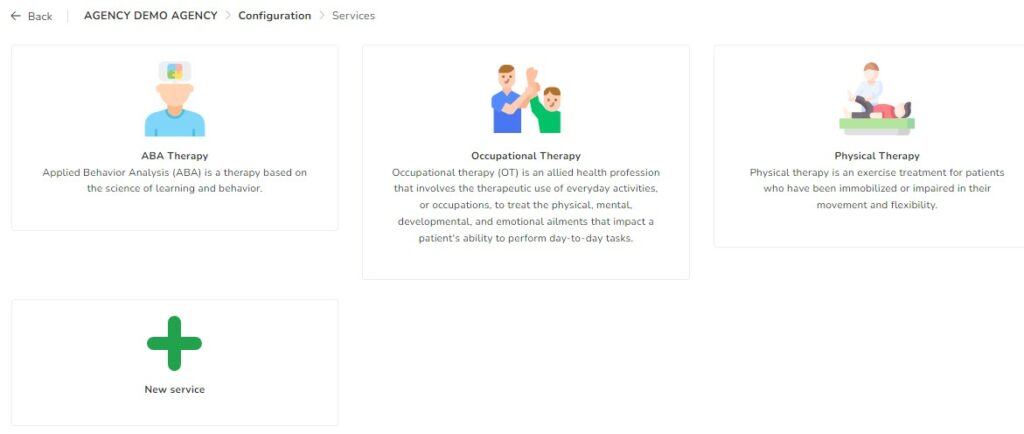
This section allows adding, modifying and viewing the different therapies that can be used in the platform. Click on “New service” to add it to the agency.
If you click on the Service itself, you can verify the elements that compose it:
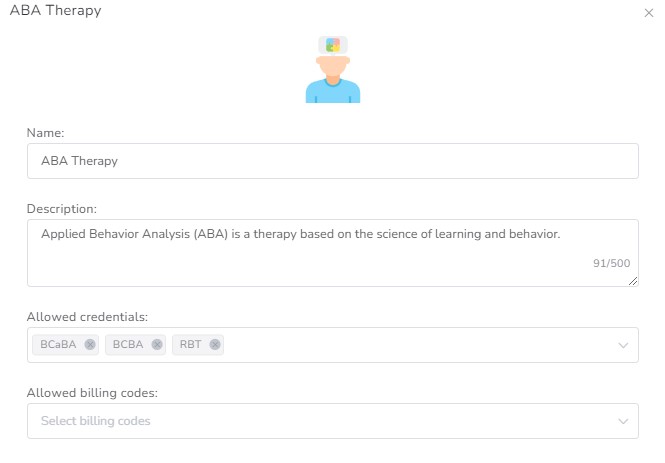
- Name
- Description
- Allowed credentials
- Allowed billing codes
Events
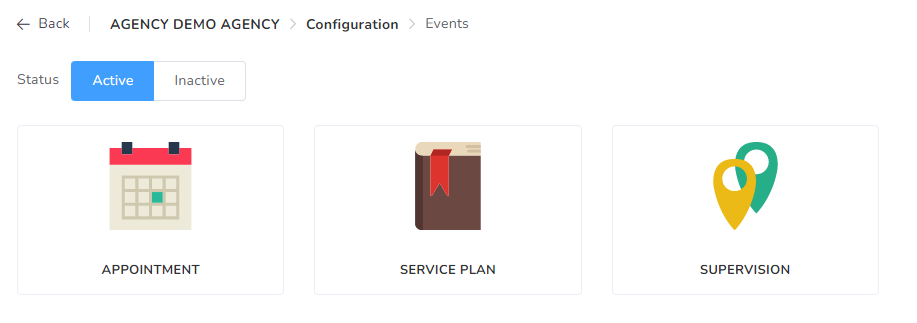
In this section, you can add and review the different Events you would need.
By clicking on “+New”, you will be able to add a new Event to the agency.
On the General tab, you can type the name of the event, as well as a short description of it.
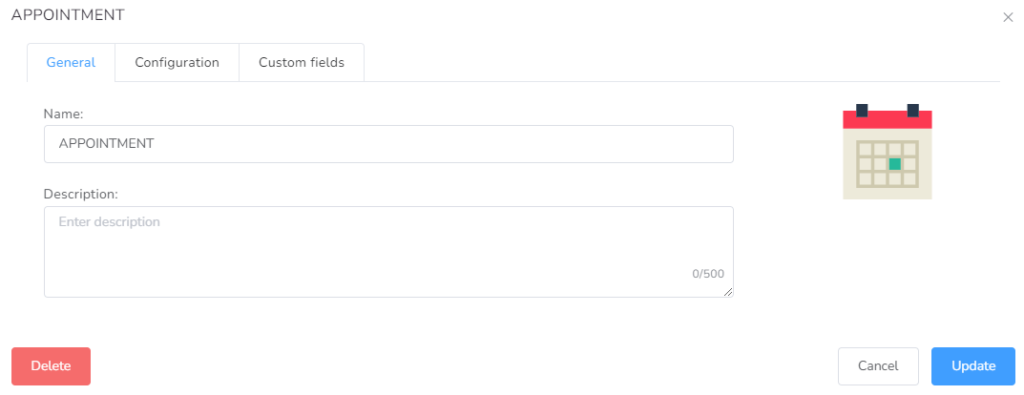
On Configuration tab, you can configure the event.
- Active – (Yes/No) – If the event can be scheduled.
- Require User – (Yes/No) – Whether this event requires a user or not.
- Allow to change User – (Yes/No) – Whether this event allows changing the user or not.
- Allow to create by User – (Yes/No) – Whether this event allows to be created by the user itself or only an administrator.
- Allowed credentials – (Multiple choice) – Allowed credentials to create this type of event.
- Require location – Whether this event requires a location or not.
- Max number of locations – Max number of locations available.
- Allow new locations – Allow new locations’ description.
- Is Multiday – Whether this event can span across multiple days.
- Billable – Whether this event can have billing codes and added to claims
- Allowed billing codes – Allowed billing codes for this event.
- Require Prior Authorizations – If at least one Prior Authorization will be required for this event.
- Max Number of Billing Codes – Maximum number of Billing codes for this event.
- Invoiceable – Whether this event can be added to Invoices.
- Clockable – Whether this event can be clocked in or out.
- Root – Whether this event can be added to Invoices.
- Parent – Whether this event can have sub-events.
- Allowed sub-events
- Child – Whether this event is a sub-event of other events.
- Rounding function – Which function to use to calculate units.
- Buffer time – Amount of time required between an event and another one.
- Require signature – Whether this event requires a signature.
- Show signature info – Will display signature additional info like capture time.
- Allow overlapping – Whether this event can overlap with other events.
- Allowed days – Allowed days to create this type of event.
- Start time – Minimum Start Time for this event.
- End time – Maximum Start Time for this event.
- Lead time – Amount of time allowed to create in advance.
- Lag time – Amount of time allowed to create in the past.
- Max Duration (Event) – Maximum duration of the event.
- Max Duration (Client) – Maximum duration of all events on the same day with the same client.
- Max Duration (Provider) – Maximum duration of all events on the same day by the same user.
- Max consecutive days (Client) – Maximum consecutive days with the same client.
- Max consecutive days (Provider) – Maximum consecutive days by the same user.
- Cut-off dates – Last day to be created in the event, always at the end of the day.
- Color
On Custom fields tab, you can add the fields you consider can have the event. By default, there are Participants and Environmental Changes.
Payers
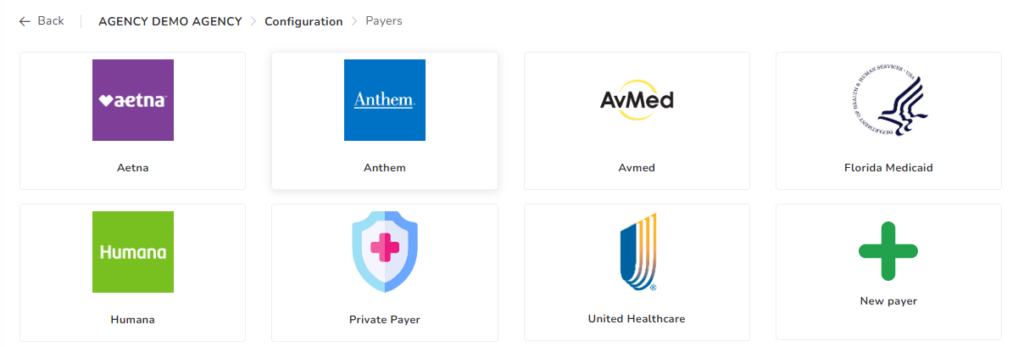
In this section, you can add and review the different Payers the agency has under contract.
By clicking on “+New”, you will be able to add a new Payer to the agency. In the New payer window, you can type different fields of the Payer, such as Name, Email, Phone, Fax, Address, City, State, Zip code, Country, Website, external ID and trading partner ID.
Once you’ve added the Payer, you can proceed to configure the billing codes rates on Insurance section.
Insurances
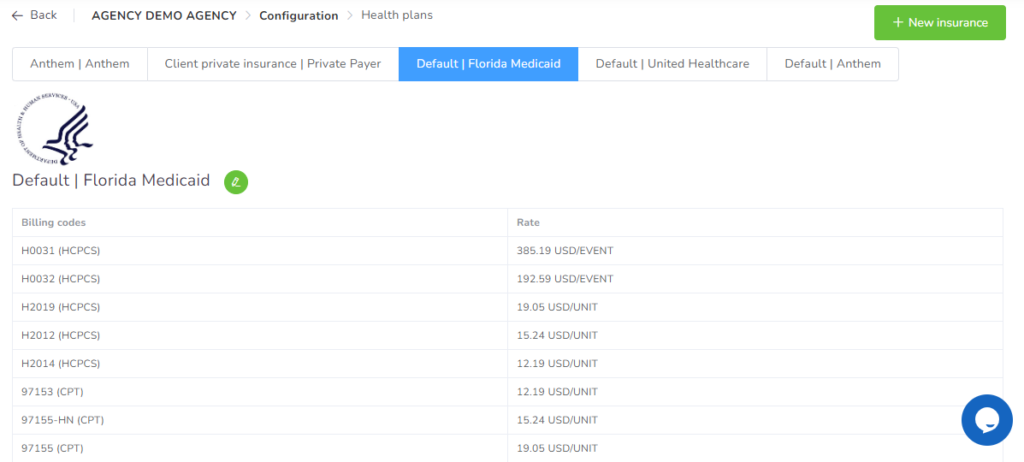
In this section, you can add and review the Insurances you’ve previously added to the platform.
By clicking on “+New insurance”, you will be able to add a new Insurance to the agency. In that window, you can choose the Payer among the dropdown list, type the Plan name and select the Plan type, as well as add the comments you required.
Once the Insurance is created, you would be able to Add the new rate or to Import them from your Billing Code section’s list.
Service Plans
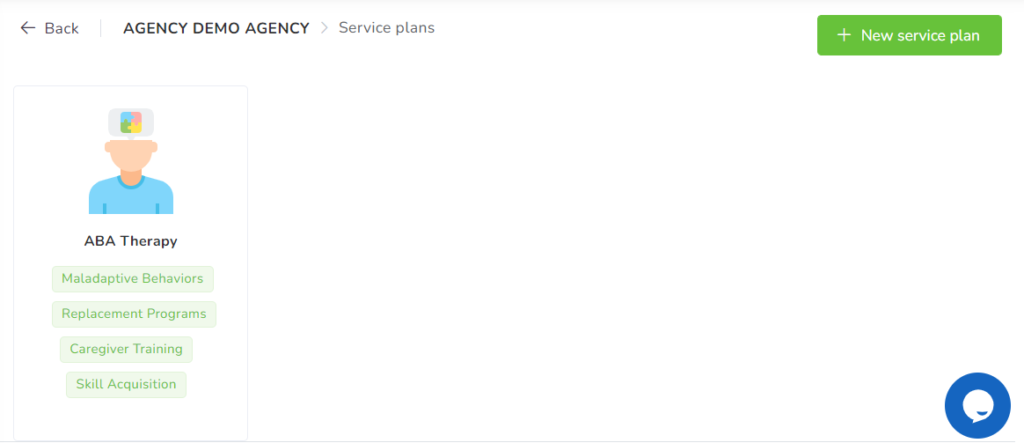
In this section you will be able to create a Service Plan template, which can be used by the analysts in the configuration of the client profile in the system, in order to facilitate their work. In this template, you will be able to add the categories most used by the agency and its providers, as well as add the programs of each of those categories (Maladaptative Behaviors, Replacements, RBT/Caregiver Competency Check or Training).
You can create one Service Plan for each service offered by the Agency. For this, you must click on “New service plan” button and select the appropriate service.
For further explanation, you can access the User course, the Service Plan lesson.
Restrictions and Exceptions
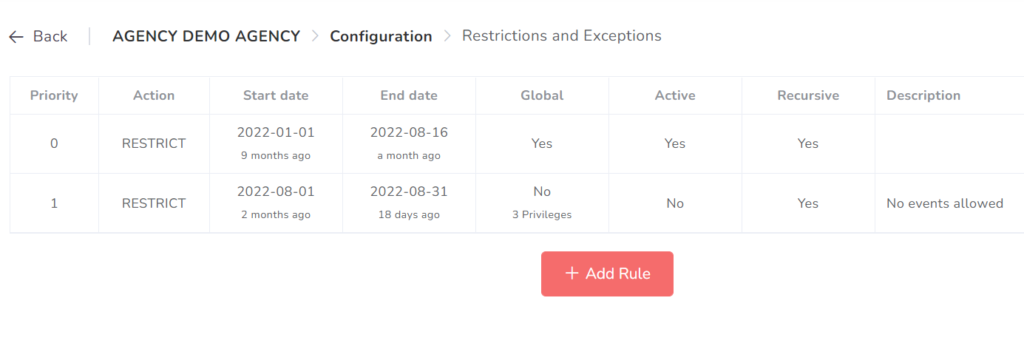
In this section, you will be able to create and manage the Restrictions or Exceptions for the agency.
By clicking on “+Add rule”, you will be able to add a new rule to the agency. In that window, you can choose the options:
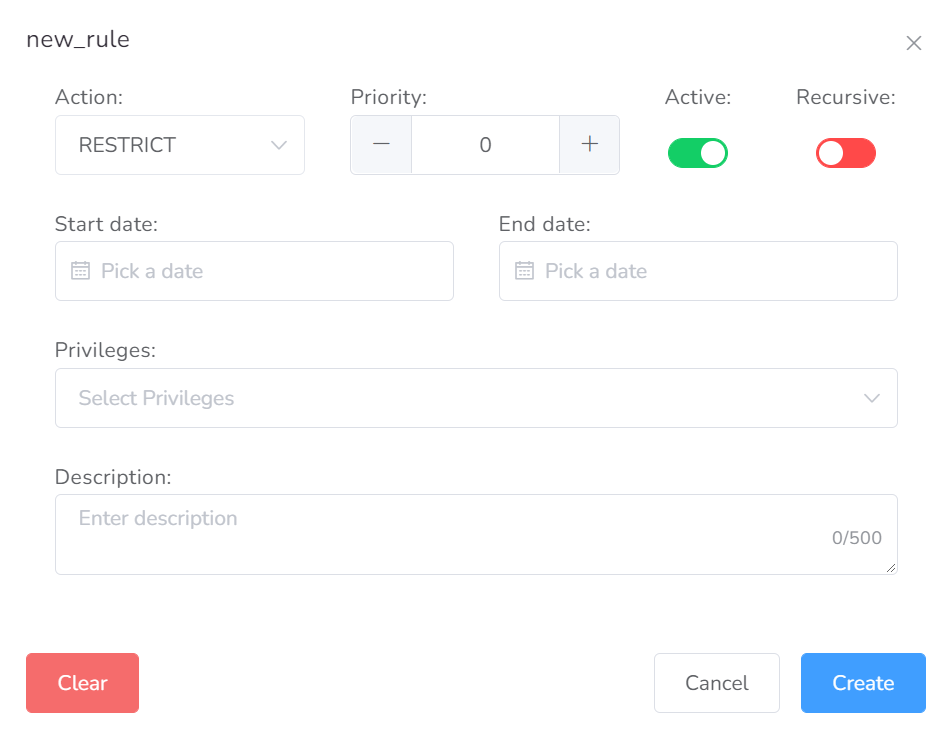
- Action: Restrict/Allow.
- Priority: You can add the number depending on the level of priority you need to assign.
- Active: Yes / No
- Recursive: Yes / No
- Start & End dates
- Privileges: Create Event/Edit Event/Delete Event/Create Document/Edit Document/Delete Document.
- Description: You can type a short description of the rule.
Localization
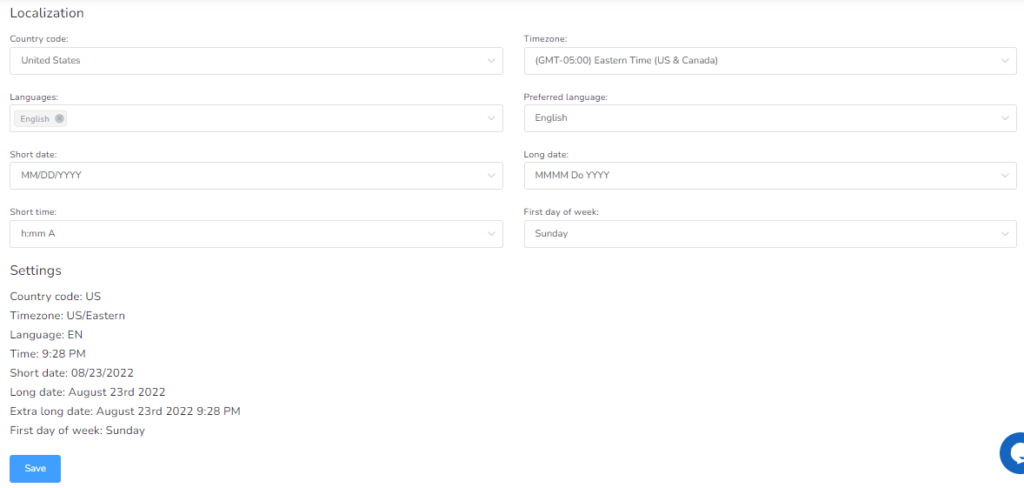
In this section, you will be able to edit and review the Localization settings of the agency.
- Country code
- Time zone
- Languages: English and/or Spanish
- Preferred Language: English or Spanish
- Short date: MM/DD/YYYY — DD/MM/YYYY — YYYY-MM-DD
- Long date: MMMM Do YYYY — Do MMMM YYYY
- Short time: h:mm AM/PM — H:mm
- First day of the week: Monday/Tuesday/Wednesday/Thursday/Friday/Saturday/Sunday
At the end of the box, you will see how it will be configured.
Banners
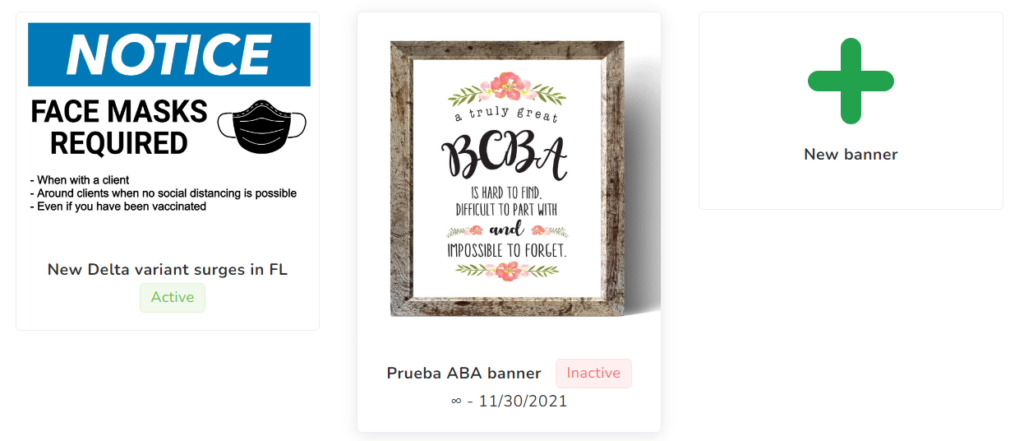
In this section, you will be able to add the banners for the agency.
By clicking on New banner, you can add the banner and fill out the fields: Title, Description, Star and End Dates, Active/Inactive.
At the bottom, there’s a box to add the image. We recommend to use 500px by 300px banners.
Template Documents
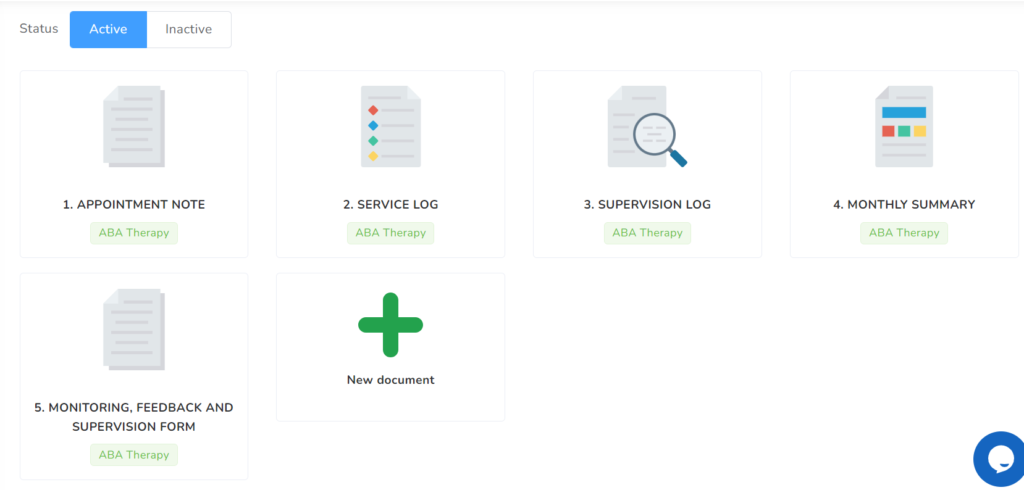
Here you will add the template documents for the agency. There is a list of preset documents like Notes / Service and Supervision logs / Monthly Summary / Monitoring, Feedback and Supervision Form/ etc.
By clicking New document, you can add a new template. There will be three tabs.
On General tab, you can add a Name and a Description about the document.
On Configuration, you can customize the specifications:
- Active: Yes / No
- Interval: None / Daily / Weekly / Semi Monthly / Monthly / Yearly
- Service: ABA Therapy / Occupational Therapy / Physical therapy
- Allowed credentials: Here you can pick the added credentials of your agency.
- Linked events: Here you can select the added events of your agency.
- Multi-event: Yes / No
- Allow Autocomplete: Yes / No
- Allow Clone: Yes / No
- Lead time: None / 24hrs / 48hrs / 72hrs / 1 week / 2 weeks / 4 weeks
- Lag Time: None / 24hrs / 48hrs / 72hrs / 1 week / 2 weeks / 4 weeks
- Auto Lock Time: None / 24hrs / 48hrs / 72hrs / 1 week / 2 weeks / 4 weeks
On the Pinned files tab, you can upload the document as an attachment. You can drop the file there or click to upload it.
The file maximum size is 25 MB.
If you want to upload a different template or want to modify the current templates, you can email us to support@officepuzzle.com with details.
Clinical Documents
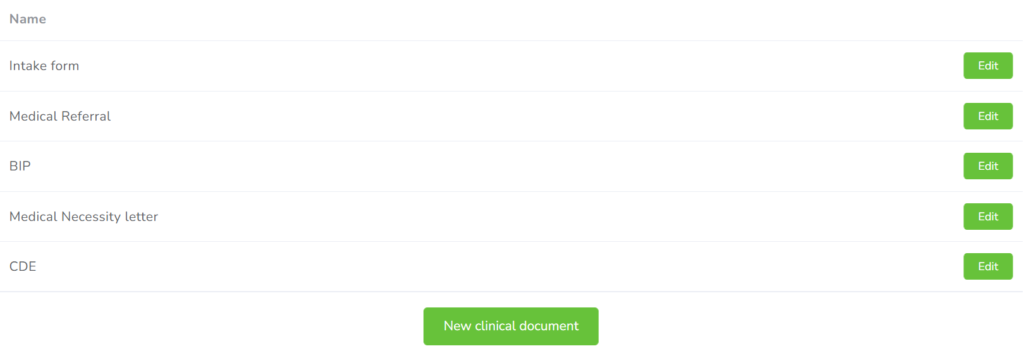
In this section, you will add and review the clinical documents that the client will need to receive the therapy.
You can define the list of documents that are required; here are a few examples: Medical Necessity Letter, CDE, Intake Form, Medical Referral, and so on.
You click on New clinical document, and a new window will appear with details to fill out:
- Name: Type the name of the document.
- Default Status: Missing / Delivered / Ignored.
- Position: Select the number to display in specific order.
- Description: Type the short description of the document, if needed.
- Allow changes’ switch: By turning the switch green, the users would upload their own file to the system.
HR Documents
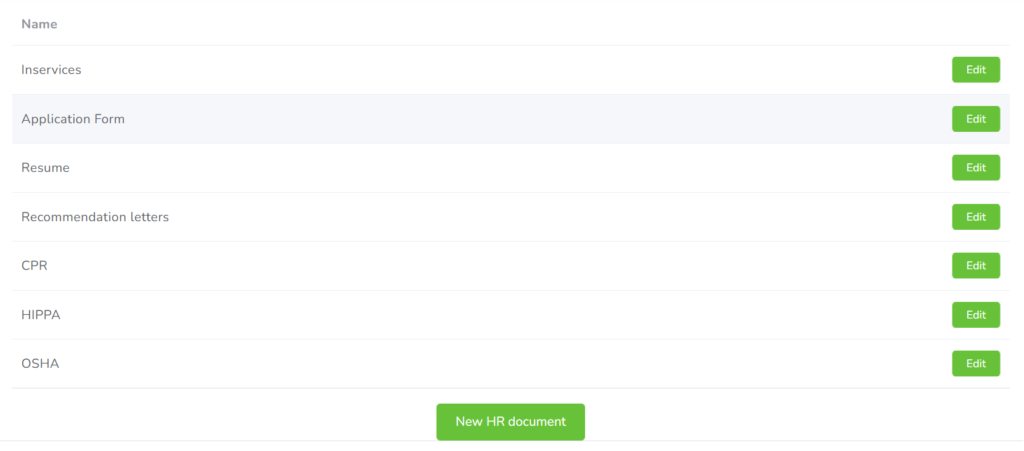
In this section, you will add and review the Human Resources documents of the agency.
You will define the list of documents that are required; here are a few examples: Resume, Work permit, Driving license, and so on.
You click on New HR document, and a new window will appear with details to fill out:
- Name: Type the name of the document.
- Default Status: Missing / Delivered / Ignored.
- Position: Select the number to display in specific order.
- Description: Type the short description of the document, if required.
- Allow changes’ switch: By turning the switch green, the users would upload their own file to the system.
Agreements
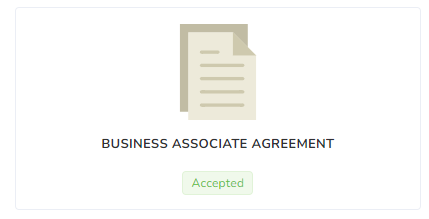
In this section, you will see and review the Business Associate Agreement that was signed by the agency prior to the start of platform use.