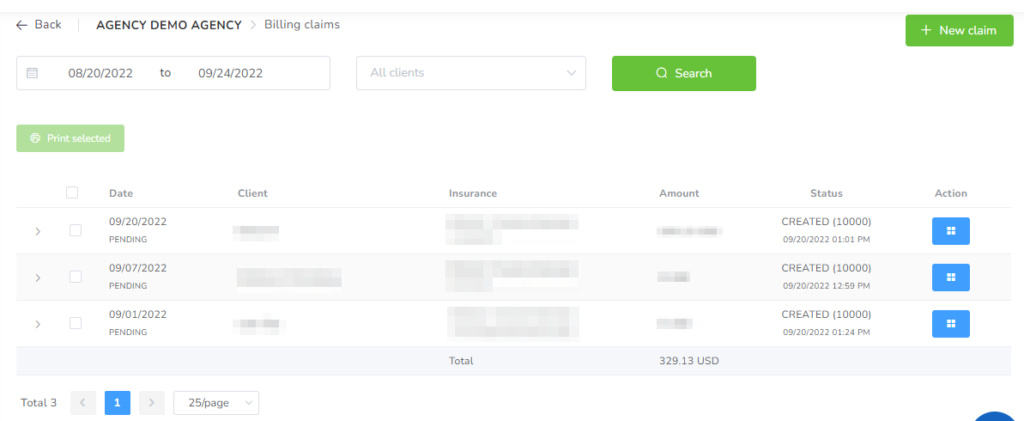
In this section, you will be able to create and find the claims for every client in the agency. Right next to the Dates filter, you will see two filters: Clients and Users. You can perform a search by leaving these filters clear, and you will see all claims created in the selected date range.

By clicking “+New claim”, you can create a claim.
In General tab, you choose the client, the provider, the insurance, the Prior Authorizations, etc.
- Date: On this box, you can select the date of the claim.
- Status: They are several statuses for the claim, Created, Confirmed, Rejected, Cancelled, Submitted, Pending, Paid, Declined.
- Reference: On this box, you can type whatever piece of reference you consider is valid for the claim, like, numbers, names, etc.
- Client: Here you put the name of the client
- Provider:Here, you can select the name of the provider.
- Insurance: Here you view the insurance.
- Prior Authorization: If there are more than one Prior Authorization, you can pick among the options.
- Amount: The total amount of money to be charged to Insurance.
- Currency: The default currency is USD.
- Comments: Here you can add any comment that you consider valid.
In Items tab, you add the elements, either from the events neither add it manually.
- Date: The date of the event.
- Place of Service:It’s where the service took place.
- Billing Code: The billing code assigned to the provider.
- Units: The number of units of the event.
- Charges: Considering the rate of the provider, here you can see the total amount per event.
- Rendering provider: Name of the user that provide the services.
- Action: You can either Edit the item, or delete it from the list of elements.
Once you create the billing claim, you will see e third tab, History, where all the changes related to the claim will be displayed, like the person who created it and the date and the time of creation.
